Domains
Give your blog a professional home. Set up custom domains to host your content on your own domain name, creating a branded experience that builds trust and improves SEO.
Custom domains provide automatic SSL certificates, global CDN, and professional branding while maintaining all of Waldium's powerful content management features.
Why Use Custom Domains?
Custom domains transform your blog from a subdomain into a professional website that reflects your brand. Instead of yoursite.waldium.app, you can use blog.yourcompany.com or content.yourdomain.com.
What custom domains enable:
- Professional branding - Use your own domain name for credibility and trust
- Better SEO - Custom domains improve search engine rankings and link authority
- Brand consistency - Align your blog with your main website and marketing materials
- Automatic infrastructure - SSL certificates, CDN, and global deployment included
Accessing Domain Settings
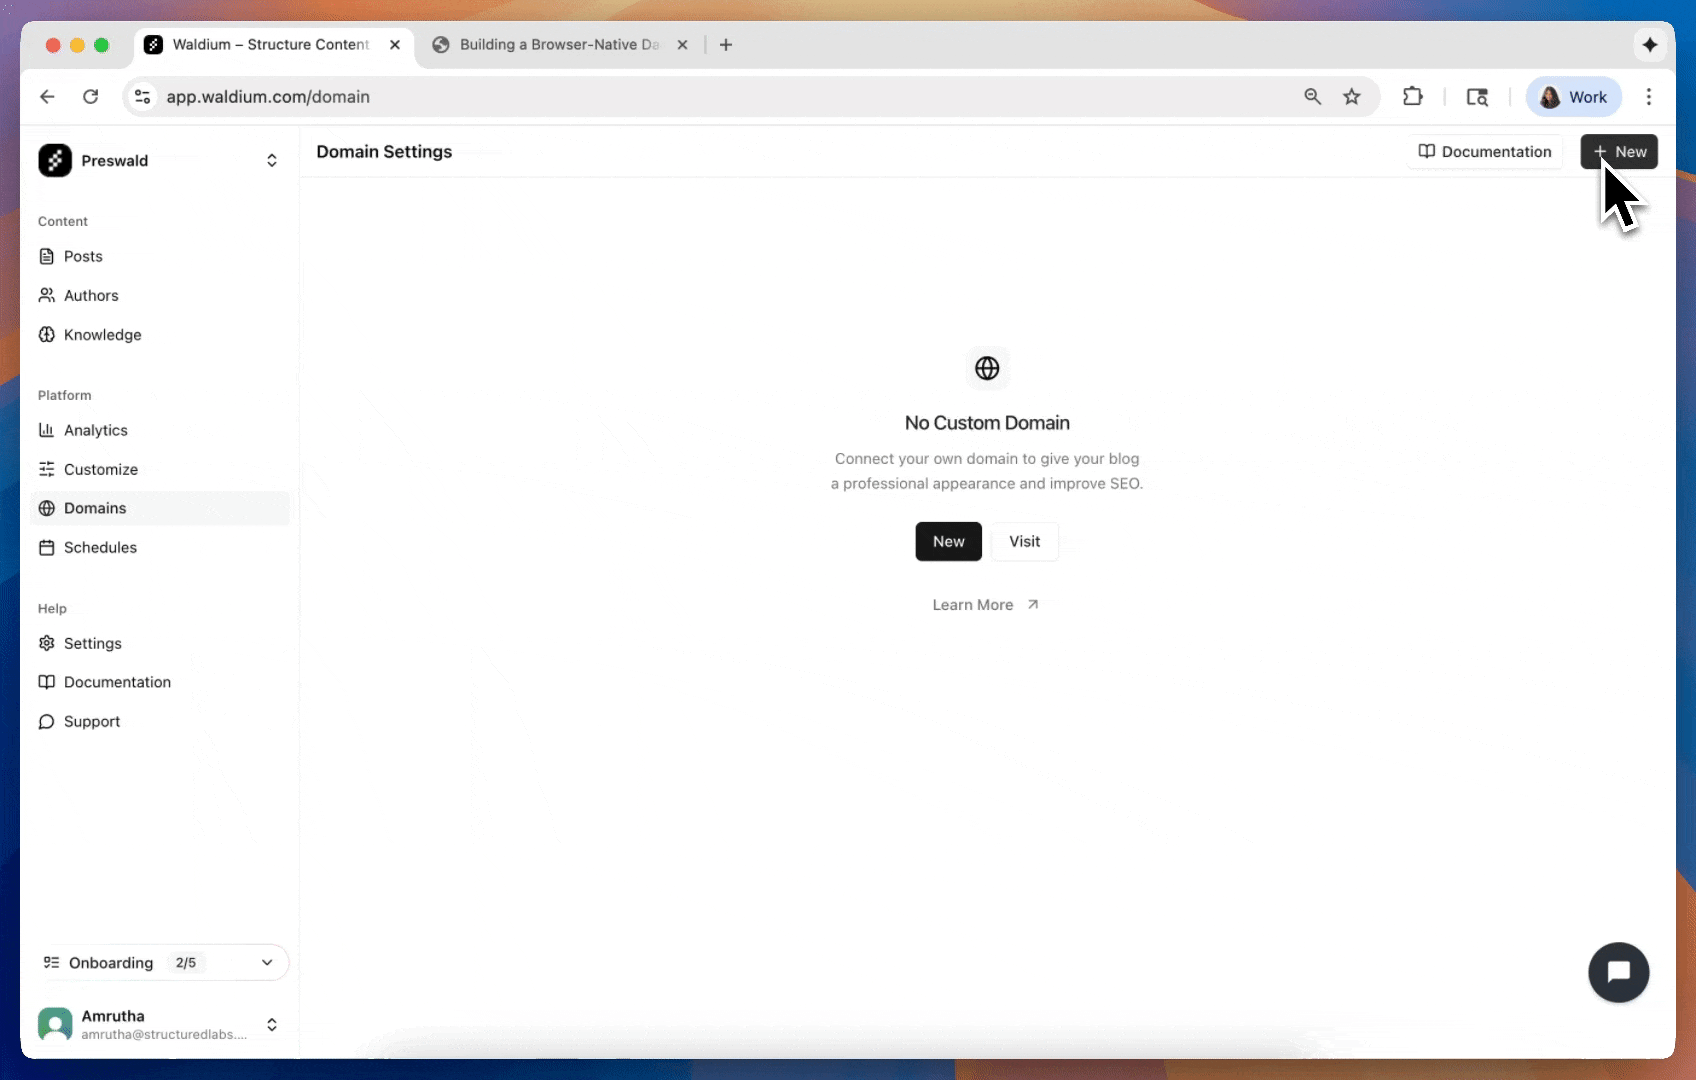
- Navigate to Domains - Go to your dashboard and click on "Domains" in the settings
- View current status - See if you have a custom domain configured or need to add one
- Add new domain - Click "Add Domain" to start the setup process
Domain Setup Process
The domain setup process involves three main steps:
- Name
Add Domain- Description
Enter your domain name and add it to your Waldium configuration.
- Name
Configure DNS- Description
Add the provided DNS records to your domain provider's settings.
- Name
Verify Setup- Description
Wait for DNS propagation and verify your domain is working correctly.
Adding a Custom Domain
- Click "Add Domain" - This opens the domain configuration dialog
- Enter your domain - Use formats like:
blog.yourcompany.com(subdomain)content.yourdomain.com(subdomain)news.yourbrand.com(subdomain)
- Submit the form - Waldium will add the domain to your configuration
Domain Name Examples
Subdomain Examples:
blog.yourcompany.comcontent.yourdomain.comnews.yourbrand.cominsights.yourcompany.com
DNS Configuration
Understanding DNS Records
After adding your domain, Waldium provides DNS records that you need to configure with your domain provider:
CNAME Records:
- Used for subdomains (e.g., blog.yourcompany.com)
- Points your subdomain to Waldium's servers
- Most common setup for custom domains
A Records:
- Used for root domains (less common)
- Points your domain directly to an IP address
- Requires specific IP configuration
Verification Records:
- Proves you own the domain
- Required for SSL certificate generation
- Automatically provided by Waldium
TTL Settings:
- Time-to-live for DNS records
- Usually set to 3600 seconds (1 hour)
- Can be adjusted based on your needs
Configuring DNS Records
- View DNS Records - DNS records are automatically loaded when you add a domain
- Copy each record - Use the copy buttons to copy record values
- Add to your DNS provider - Log into your domain registrar and add these records
- Wait for propagation - DNS changes can take up to 48 hours to propagate
Common DNS Providers
Popular Domain Registrars:
- GoDaddy - Navigate to DNS Management in your account
- Namecheap - Go to Advanced DNS settings
- Cloudflare - Use the DNS tab in your dashboard
- Google Domains - Access DNS settings in your domain management
- Route 53 - Use the hosted zone for your domain
Domain Management
Viewing Your Domain
Once configured, your domain dashboard shows:
- Domain name - Your custom domain with clickable link
- Verification status - Whether your domain is properly configured
- DNS records - All required DNS configuration
- Management options - Refresh status, remove domain, access documentation
Verification Status
Status Indicators:
- Verified (Green) - Domain is properly configured and serving content
- Not Verified (Red) - DNS records need to be configured or are incorrect
- Checking (Gray) - System is verifying your domain configuration
- Unknown (Gray) - Status hasn't been checked yet
Refreshing Status
- Click the status badge - Manually check your domain verification status
- Use refresh button - Update the verification status at any time
- Automatic checks - System periodically verifies your domain configuration
DNS Record Management
Viewing DNS Records
DNS records are automatically displayed in a table format showing:
- Type - CNAME, A, or verification record type
- Name - The DNS record name (e.g., blog.yourcompany.com)
- Value - The target value for the record
- Copy functionality - Click any field to copy the value
Sharing DNS Records
Team Collaboration:
- Share button - Generate a message with all DNS records
- Copy message - Share with team members or DNS administrators
- Include context - Message explains the setup process and requirements
Domain Verification
How Verification Works
- DNS Propagation - Wait for DNS changes to propagate (up to 48 hours)
- Automatic Checks - Waldium periodically verifies your domain
- SSL Generation - SSL certificates are automatically provisioned
- Content Serving - Your blog becomes available on your custom domain
Domain Removal
Removing a Custom Domain
If you need to remove your custom domain:
- Access domain settings - Go to your domain management page
- Click "Remove Domain" - Use the dropdown menu or remove button
- Confirm removal - Confirm you want to remove the domain
- Revert to subdomain - Your site will return to
yoursite.waldium.app
What Happens When You Remove
Immediate Effects:
- Domain removed from Waldium configuration
- DNS records no longer managed by Waldium
- Site reverts to default subdomain
- SSL certificate for custom domain is removed
Your Responsibility:
- Remove DNS records from your domain provider
- Update any links pointing to the custom domain
- Notify users of the domain change